Comfort without waste
- Fact: By simply observing your home, you can identify drafts and cold spots to pinpoint where action is needed and lower your energy bill without any major renovations.
- Measurement: Thermography and air leakage testing confirm and quantify heat loss to help prioritize renovation work.
- Solution: Insulate the attic and seal any leaks at critical points to lower your energy bills, improve comfort, and save energy.
At night, the house feels like a sieve, and the radiator struggles to keep the heat in. You can immediately feel the drafts near the windows, and the bill keeps climbing relentlessly. That’s why you need to choose custom thermal curtains —they’ll change your life!
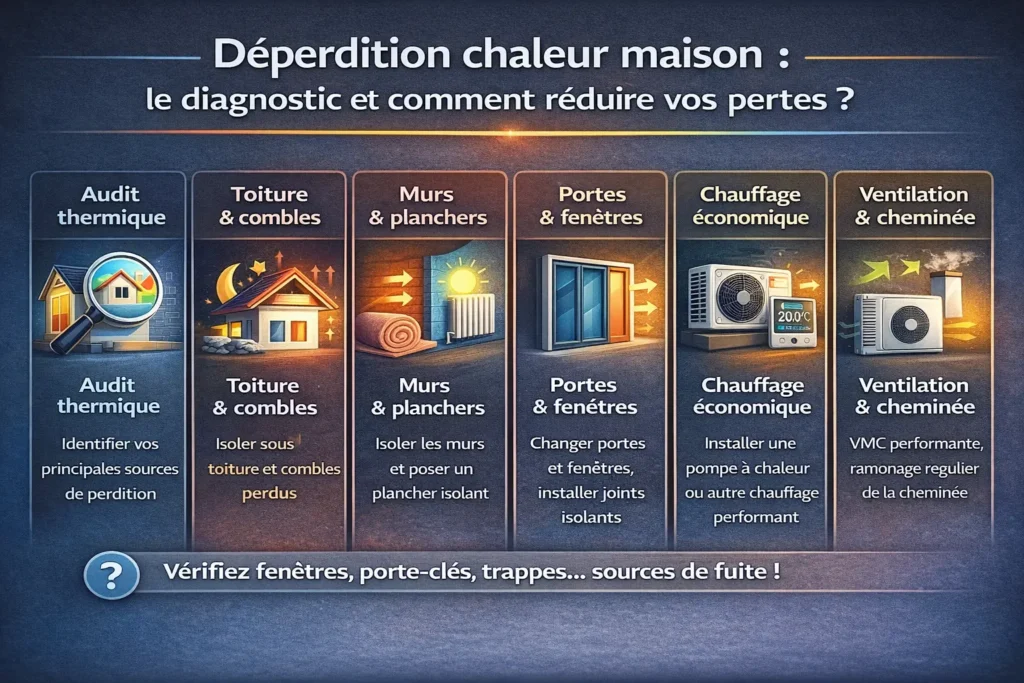
This observation leads to a simple goal: minimizing energy loss without turning everything upside down. A quick inspection of the rooms is often enough to identify cold spots and drafty doors. The following section outlines clear steps for assessing and prioritizing the necessary work to ensure an effective, high-quality thermal barrier.
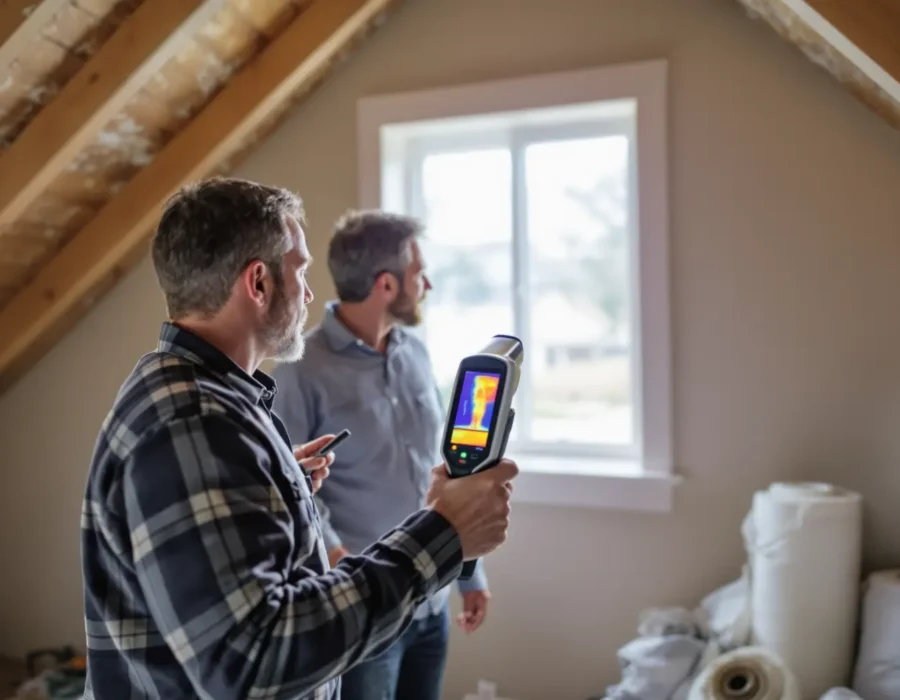
Identifying heat loss in the home.
Initial assessments help identify areas for improvement before any expenses are incurred. Your goal is to improve comfort and reduce costs quickly.
Visual inspection and simple DIY checks to identify problem areas
What you often see already provides a lot of information. A survey of the attic, walls, windows, and doors frequently reveals the cause of heat loss. A poorly insulated attic lets heat escape. Thermal imaging reveals thermal bridges. You can go through a simple checklist before calling a professional .
Thermal imaging and air tightness testing to identify hidden leaks and assess their severity
A thermal imaging test confirms visual observations and identifies areas where heat is escaping. A blower door test is used to measure airtightness and prioritize repairs based on the results. The blower door test quantifies air infiltration. Accurate measurements allow for estimating heat loss in watts per square foot.
Diagnostic testing to accurately measure your heat loss
Calculations are used to turn a rough estimate into a reliable figure that can inform decision-making. Your goal is to obtain a reliable estimate of the order of magnitude before starting the work.
Calculating heat loss using the U-value, surface area, and temperature difference to estimate heat loss in watts
This calculation uses the formula heat loss = U × surface area × temperature difference to estimate energy loss. By identifying the U-values of the walls, this method is accessible even to the curious DIYer. The calculation helps estimate potential energy savings. Simple information on materials helps in choosing the right insulation.
Reviewing the EIA and interpreting the results to prioritize the areas to be isolated
The EPC provides an overall indicator, but it is often too vague for specific areas. You should therefore combine the EPC with thermal imaging and a blower door test to establish a detailed prioritization. The EPC does not replace thermal imaging. You can then decide whether insulating the attic, walls, or windows and doors should be the top priority.
Top solutions for reducing heat loss in the home
The most cost-effective repairs are identified quickly through a precise and targeted assessment. Your budget determines the order in which the repairs are carried out.
Attic renovation and improved roof insulation to reduce heat loss by up to one-third
Insulating the attic is often a game-changer, as the roof accounts for a large portion of heat loss. Choosing the right vapor barrier and high-performance insulation reduces heat transfer. An insulated attic significantly lowers your energy bill. Careful installation prevents thermal bridges from forming.
These concrete measures are then presented in terms of costs, benefits, and priorities.
| Position | Average share of losses |
|---|---|
| Roof and attic | ≈ 30% |
| Walls | ≈ 20% |
| Air leaks | ≈ 20% |
| Glazing | ≈ 15% |
| Low floor | ≈ 10% |
Practical priorities can often be boiled down to a few quick and effective steps.
- Attic insulation for significant savings.
- Seals and window and door frames adjusted to minimize air leakage.
- A leak test to pinpoint leaks.
- Replacement of windows based on exposure.
- Check the subfloor if the cold persists.
| Measurement | Estimated cost | Estimated gain | Priority |
|---|---|---|---|
| Attic insulation | €€ | Top | Very high |
| Wall insulation | €€€ | High | High |
| Window Replacement | €€ | Medium | Average |
| Air tightness | € | Variable | High if there are significant leaks |
Cotton Silence, the expert in innovative acoustic solutions
Cotton Silence is a French company specializing in high-performance acoustic curtains and in improving thermal comfort in rooms. The company offers technical and aesthetically pleasing solutions manufactured in France to reduce noise pollution and minimize heat loss.
The service includes support from the initial assessment through to installation using high-performance multilayer materials. A wide range of colors allows for a perfect blend of aesthetics and efficiency.
Questions and Answers About Heat Loss
How can you tell if you have heat loss?
When your energy bill goes up for no apparent reason, it’s often due to heat loss. The tools that come to the rescue—the Energy Performance Certificate (EPC), infrared thermography, and airtightness testing—help pinpoint the weak spots. The EPC provides an overall assessment, thermography reveals thermal bridges in images, and airtightness testing measures air leaks. Before making any major changes, it helps to check for walls that feel cold to the touch, drafts, or fogged-up windows. Then, you can focus on insulation, plan the work, and enjoy more comfortable and cost-effective heating. And if you’re unsure, be sure to get several quotes to compare.
Which part of the house loses the most heat?
If you had to guess, the roof would often take the prize, accounting for about 30% of heat loss. It’s the poorly insulated attic, the cold roof tiles, and a draft that sneaks in during the winter. I realized this when the roof vent was whistling and my socks were still damp in the morning—it’s true. Roof insulation, installing a vapor barrier, and checking the attic before winter—that’s the winning trio. You can tackle some of the smaller DIY projects yourself, or call a contractor for the major work. The result: you breathe easier, spend less, and keep the comforter on, and the house finally regains its cozy warmth.
How do you calculate a house's heat loss?
Calculating heat loss is no mystery; a simple formula is all it takes. For example, for a 100 m² wall with a U-value of 0.3 W/m²·K and a temperature difference of 20°C, the heat loss is 0.3 × 100 × 20 = 600 watts. You can add up all the components—windows, floors, roof—to get the total power lost. Then, multiply by the heating hours to estimate the annual energy use. The practical result: you can determine if your current insulation is sufficient and prioritize renovations without getting bogged down in estimates. A quick calculation, and the decision becomes clear—no need to stress, really.
What percentage of heat is lost in a house?
If you think of a house as a cross-section, you can quickly see the breakdown: typically about 20% through the walls, 20% through air leaks and air exchange via chimney flues, range hoods, ducts, etc., 15% through windows (if they’re standard single-pane units), and 10% through the floors. These figures provide a general idea, not a set-in-stone truth. Depending on the age of the house, the quality of the glazing, and the ventilation, the percentages vary. Here’s a tip: start with the biggest sources—walls and air—then refine your approach with thermal imaging. You’ll gain in comfort and quickly see the savings. Honestly.